Finally getting this battle report up on the blog. Taccoms is down, so I'll migrate this over there once they're back up and running again.
ARMY LISTS
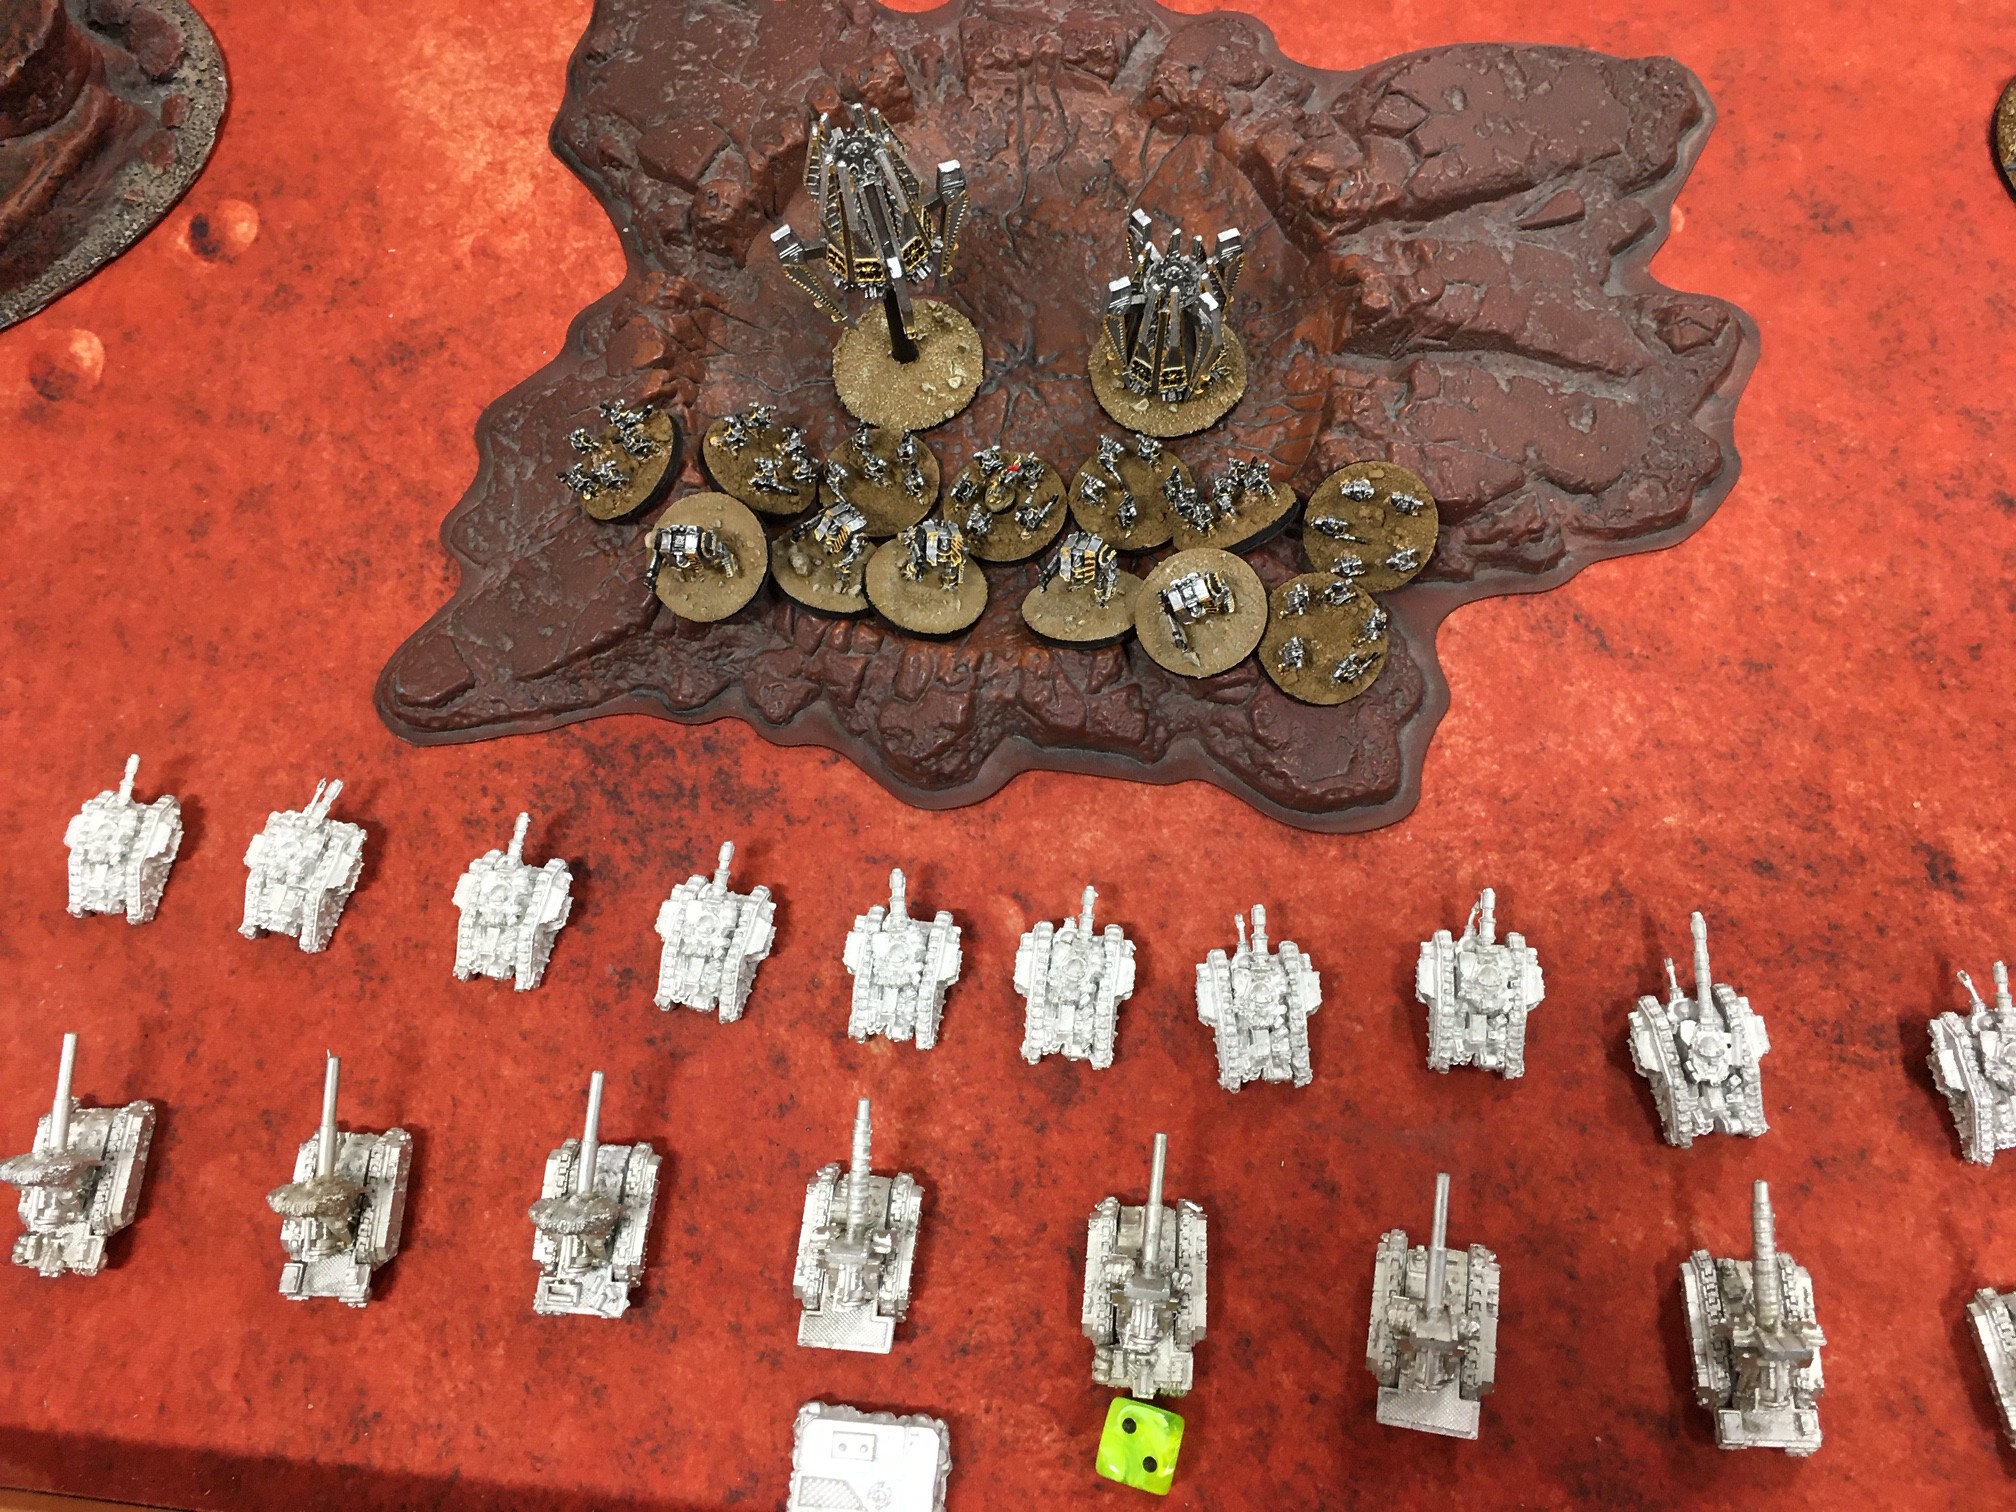
Iron Warriors (NetEA v3.2 *PLAYTEST*), 3000 POINTS
==================================================
DEFILER ASSAULT PACK [400]
-
6 Defilers
ARMOURED ASSAULT COMPANY [225]
-
6 Chaos Vindicators
ARMOURED ASSAULT COMPANY [225]
-
6 Chaos Vindicators
IRON WARRIOR TERMINATORS [275]
-
Iron Warriors Lord, 4 Iron Warrior Terminator
DREADNOUGHT ASSAULT PACK [250]
-
5 Chaos Dreadnoughts, 5 Dreadclaw Drop Pod
SIEGEHAMMER COMPANY [265]
-
8 Iron Warrior Assault Marines, Iron Warriors
Lord, 8 Dreadclaw Drop Pod
OBLITERATOR CULT [350]
-
4 Obliterators
HAVOC COMPANY [375]
-
4 Havocs and 2 Land Raiders, Iron Warriors Lord,
Stalker
ARTILLERY BATTERY [375]
-
4 Chaos Basilisks, Stalker
HELLBLADE FLIGHT [200]
-
3 Fighters
DEVASTATION CLASS CRUISER [150]
Minervan Tank Legion (NetEA Tournament Pack 2014), 2900
POINTS
==================================================
ARTILLERY COMPANY [600]
-
9 Basilisk
TANK COMPANY [650]
-
Vanquisher, 9 Leman Russ
TANK COMPANY [425]
-
10 Thunderer
SALAMANDER SCOUT PLATOON [100]
-
3 Salamanders
STORM TROOPER PLATOON [350]
-
8 Storm Troopers, Valkyrie Transport
MECHANIZED PLATOON [300]
-
10 Infantry, 5 Chimera
WARHOUND [275]
-
1 Warhound Class Titan
ORBITAL SUPPORT [200]
-
Emperor Class
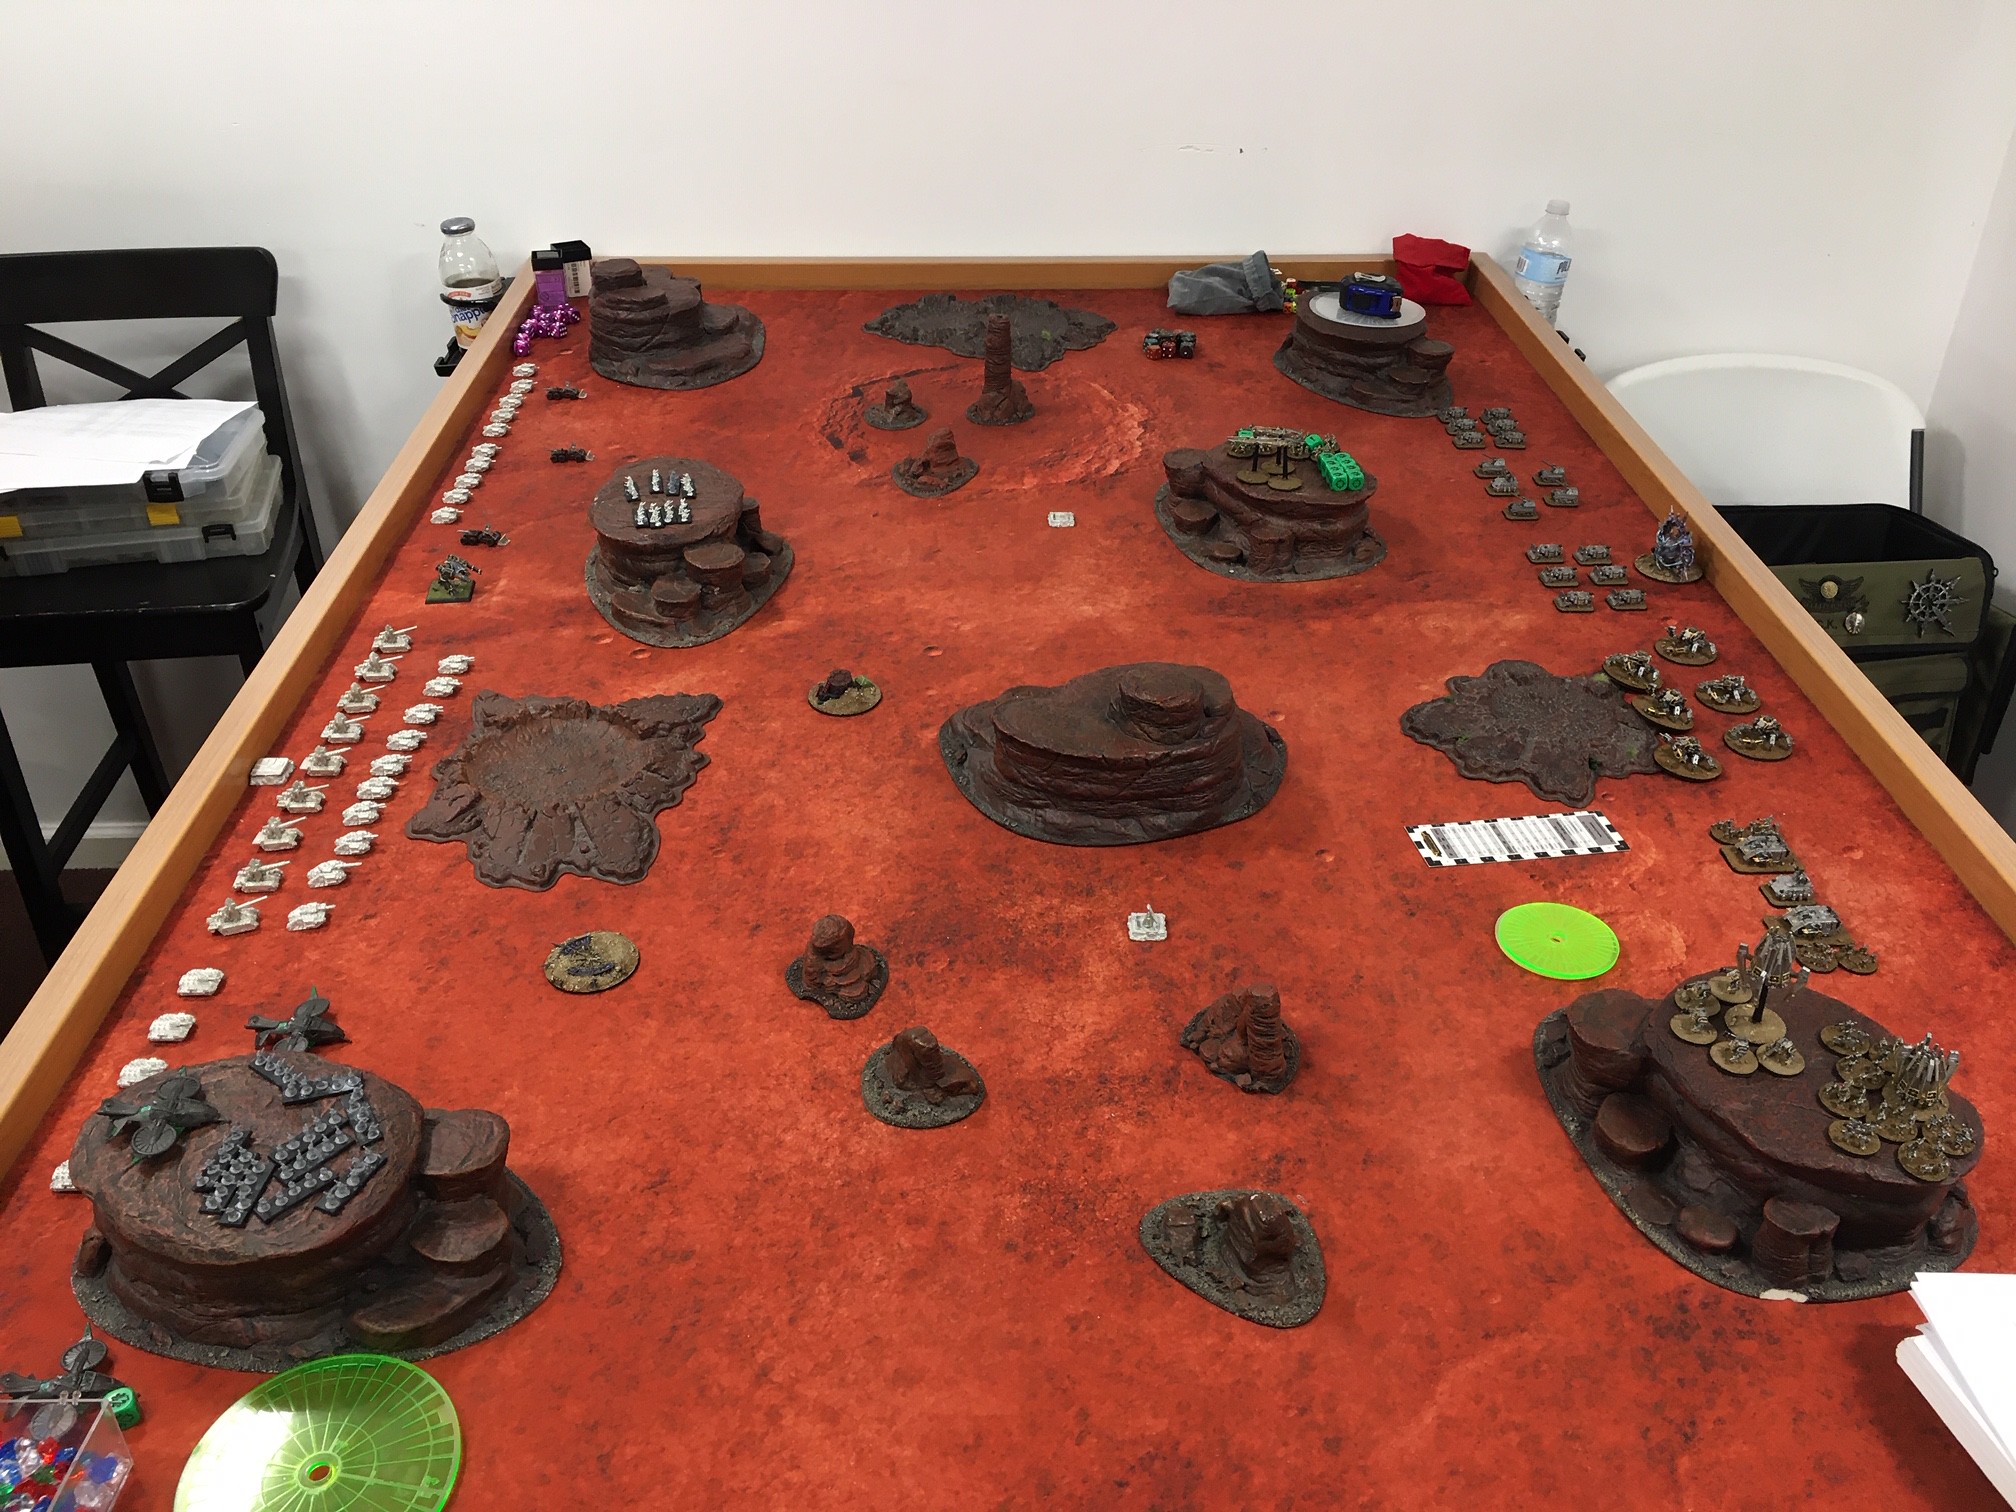
PREGAME
Since my opponent took a Battleship, I knew he wasn’t coming in with Orbital
Support until Turn 3, which was good insofar as it let me get my drop in Turn 1. I placed my objectives toward midfield on
either side of a large crater so that my dropping infantry would have some
cover to fall back into, while my opponent spread his out on either side of a
mesa so I wouldn’t be able to effectively cover both with midfield forces. I plotted my orbital barrage to land behind
the mesa on his side of the table, assuming something would be hiding there to
avoid first-turn direct fire, and plotted both of my drops (IW Siege Hammer
Company, Dreadnought Assault Pack) to land on top of each other, midway between
my central T&H objective and his back line, with plenty of room to shift behind
the mesa or into the crater to threaten formations in their starting positions.
After setup, it was apparent that I was going to glance his
Warhound, at best, with the orbital barrage from my Devastation (which is about
par for the course for me in pre-plotting barrages), and my drop forces were
going to have a good line of engagement to his BTS, the Leman Russ
company. Yeah, pretty much have to go
all or nothing with an immediate drop there.
TURN ONE
Imperial Guard won the initiative.
The Minervans’ Basilisk company immediately sustained fire
on the Defilers, scoring 4 hits, all of which were saved. With no retain, the momentum passed to the Iron
Warriors. The Iron Warriors’ cruiser in
orbit came through overhead, dropping its orbital barrage and missing its
pinpoint attack on the Warhound, ablating one shield(!) and putting a blast
marker n the Salamander scouts. Also par
for the course for me and orbital barrages.
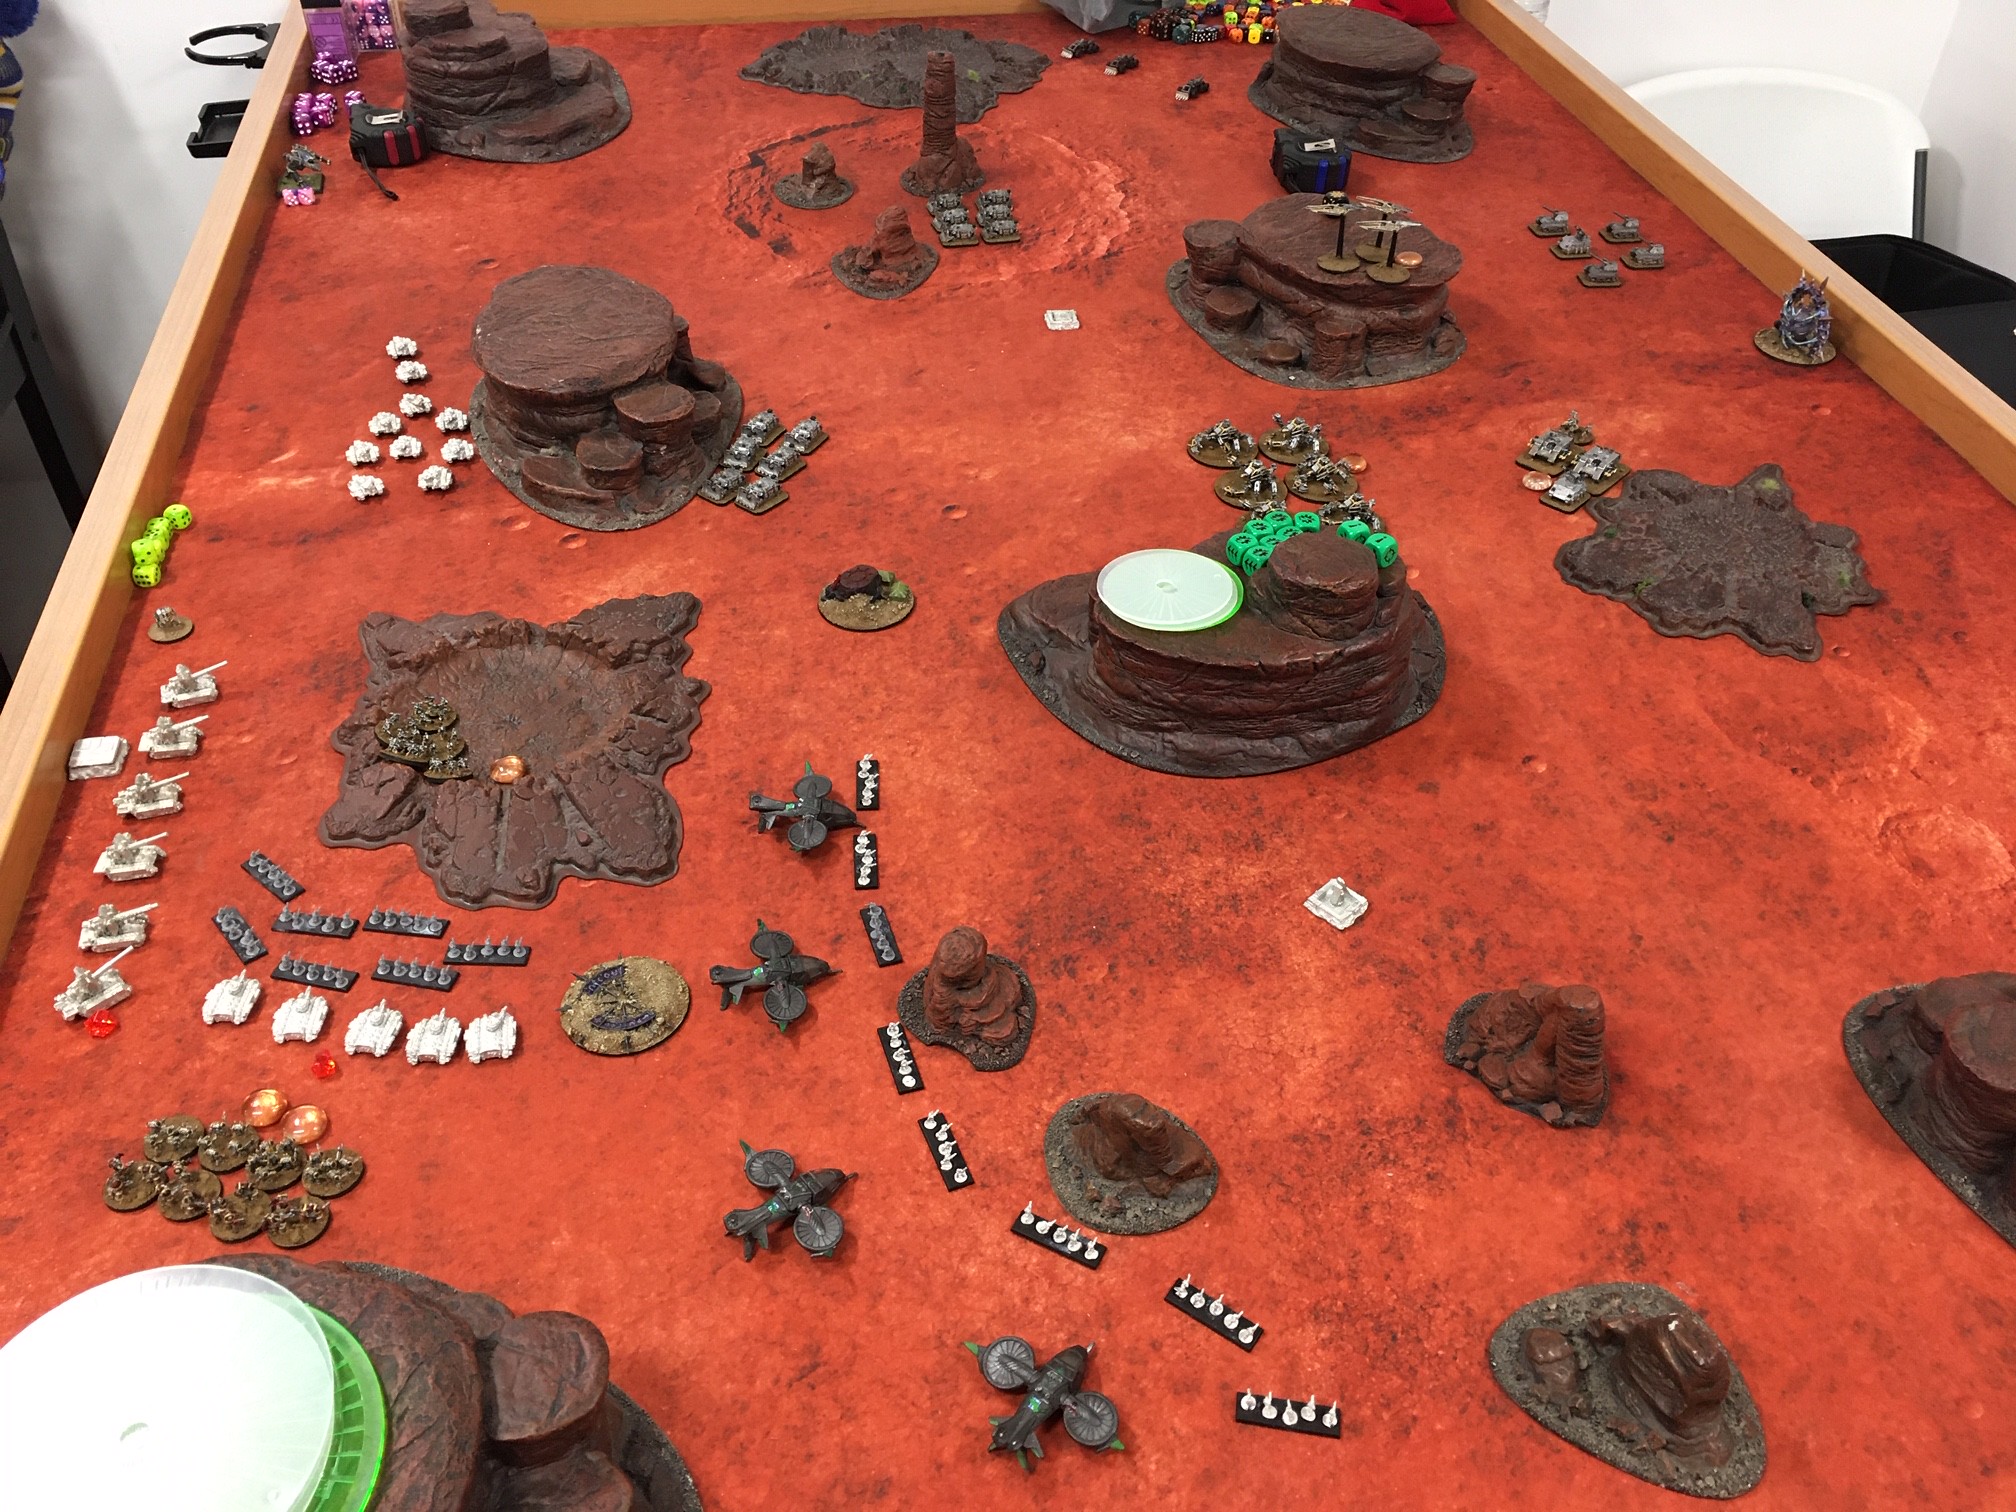
Dreadclaws rained down from above, course-correcting into the crater in
front of the Leman Russ company and unloading their cargo of Siegehammer
assault infantry and Dreadnoughts.

The Siegehammer company retained, pulling the Dreadnoughts
along with them into an assault on the Leman Russes. Three tanks went down to the initial assault,
another 4 fell to hack-downs, and because my attack line had spread out so widely,
the remaining tanks couldn’t retain coherency and still move more than 30cm
away from the attackers, wiping out the company and netting the Iron Warriors
BTS.
The Minervans reacted by doubling the Thunderer company over
and firing on the Dreadnoughts, to no result.
The Iron Warriors responded with a Hellblade ground attack against the
Valkyries, inflicting 1 blast marker.
The Iron Warriors’ Basilisk battery then retained, sustaining fire and
placing their barrage on the intermingled Stormtrooper Valkyries and Mechanized
Company’s Chimaeras, but all hits were saved and each formation took a blast
marker. Since both formations’ infantry
started in their transports, a couple of vehicle kills here could have had much
more significant consequences. The Chimeras
then advanced, disgorging their troops and firing on the Siege Hammer Company
and killing two.

The Iron Warriors then took and held the initiative. The Defilers doubled and fired on the
Basilisk company with their battle cannon, knocking out two from 4 shots (after
suppression). Then the Havoc Company
doubled up, firing on the Mechanized Company and knocking out 3 guard squads.
In response, the Valkyries advanced and deployed their
Stormtroopers, dropping half of their rocket pod barrage on the Havocs and
wiping out three Havoc squads to break the formation (BTS). After this, the left flank Iron Warriors
Vindicator formation marched up to support the Dreadnoughts and Siege Hammer Company,
while the Minervan Salamanders failed to activate and took their move. The second Vindicator formation doubled up
and fired on the Salamanders from extreme range, inflicting one blast marker
and breaking them. After that, the
Warhound finally ground to life, engaging the Dreadnoughts in the crater, only
to be broken after two rounds of assault, losing two damage capacity and taking
down all but one Dreadnought (who promptly broke and fled in the direction of
the Minervans’ Blitz).

At the end of the turn, all formations rallied on both
sides, and the Obliterators and Terminators came down intermingled behind the Minervan
Mechanized Company (Terminators took 2 blast markers from the teleport).
TURN TWO
Iron Warriors won the initiative.
The turn began with the Obliterators sustaining fire on the
Mechanized Company, catching them in a crossfire with the Siege Hammer Company
across the way. This wiped out all
remaining guard squads, leaving the Chimeras bereft and broken. With that force eliminated, the Terminators
retained and engaged the Basilisks, wiping them out at the cost of one Terminator
squad (breaking them).

In response, the Warhound advanced, firing with its plasma
blastgun on the midfield Vindicators and killing 2. The midfield Vindicators repositioned and
fired on the Stormtroopers, killing two.
Then the Defilers retained for a double, bracketing the Stormtrooper
company, wiping out two more squads and downing 3 Valkyries, breaking the
formation.

The Minervans’ Thunderers then failed their activation, firing on the Siege Hammers as well, killing two more and breaking them.In turn, the Iron Warriors’ Basilisks sustained and took
direct-fire shots at the Salamander Scouts, killing two. With that, the Minervans were out of unbroken
formations.
The midfield Vindicators marshalled and fired on the Warhound,
inflicting 1 blast marker and clearing their own blast markers. The Hellblades made a ground attack on the
broken Stormtroopers, killing one more with the blast marker. The rallied Dreadnought moved onto the Minervans’
Blitz. The Havocs doubled and fired on
the Warhound, knocking off a void shield and piling on another blast marker.

At the end of the turn, the Minervans’ Mechanized Company and
Warhound rallied, while the Thunderers, Stormtroopers, and Salamanders failed
their rolls.
TURN THREE
Imperial Guard won the initiative.
The Mechanized Company’s Chimaeras started off the turn by
failing their activation and repositioning across the midline. In response, the Defilers repositioned, fired
on the Chimaeras, killing 3 and breaking them.
The midfield Vindicators then retained and sustained fire on
the Warhound, scoring the final necessary hit, critting it, and it staggered to
the ground dead. The Thunderers retaliated
by advancing and firing on the Dreadnought holding the Blitz, taking it down in
a hail of high explosive shells.
The Obliterators moved to occupy the Iron Warriors’ lefthand
T&H objective. Finally, the Battleship
in orbit came past overhead, pouring fire onto the battlefield and overlapping
both T&H objectives. 2 Defilers and 2
Vindicators go down to the orbital bombardment, breaking both formations and
ending the Minervans’ activations.

The
Hellblades make a ground attack against the Salamander formation, knocking it
out. The Siegehammer company moves to
occupy the T&H objective vacated by the Defilers. The Basilisks sustain fire, but only manage
to kill 1 broken Chimaera. Finally, the
Havocs march and stretch out to occupy the third DTF objective.

In the end phase, the Chimaeras rally, denying TSNP.
ENDGAME
At the game’s end, the Iron Warriors came out ahead 3-0 with
BTS, DTF, T&H.
So it wasn’t until I went to write up this battle report that I realized my opponent had shorted himself 100 points when building his list, which could have bulked up his Thunderers with a few Leman Russes, Salamander Command vehicles, or maybe taken another Salamander Company entirely. Oops. I’m not entirely convinced it would have made too much of a difference though, as the units I dropped on were pretty handily wiped out when I hit them.
Havocs are a small and relatively fragile BTS, but at least Land Raiders are hard to kill.
Not sure yet whether the Siege Hammer company is too powerful at 8 infantry. There's no macro in there, but the added bodies do help contribute to potential outnumbering. I think I like "more bodies" over "more special rules" though. We'll see. They did hold ground in cover and distract my opponent pretty effectively once they'd dropped though, so the 15cm move and no ranged weapons weren't really as much of a disadvantage as most people probably think.
Being able to take three core units and let that unlock Obliterators, Dreadnoughts, Siege Hammer, and Terminators is powerful. It's expensive and you can't then take an Ordinatus or multiple artillery batteries, and you're relying on Vindicators to do a lot of work for you, but that's a LOT of drop assault power for a Chaos Marine army. Being able to spread the full assault out over two turns helped as well. I'm not sure this army would survive waiting until turn two to drop everything.
I don't think the points reductions to Defilers or Vindicators are really that significant for their formations (strips out some of the points tax that was initially built into them), but unlocking ~75 points' worth in the Core section does unlock an extra activation for Iron Warriors. Typically I find myself around 8-9 activations with spare points, but not enough list flexibility or enough points to take another. Reducing overpriced core formations' cost and reorganizing the force org chart (Havocs and Obliterators to Siege Support where they probably belong) definitely unlocks more options and more potential list variety.
These two combinations (Obliterators in Support, room in the list for an additional activation due to points costs), are what I'll probably want the most testing from the community on - have I unintentionally turned the Siege Assault Chaos list into an extremely hard-hitting and durable ground-holding drop assault list? If so, is that ok?
Honestly, Minervans are particularly vulnerable to a heavy drop assault list like this. I got pretty lucky in my targets, and the Stormtroopers might have been able to do more damage if they'd been given freer reign, or if he'd taken a second formation instead of the Mechanized Platoon (and used up the last 100 points). Chances are I could have won 2-0, after getting most of the forces I'd sent over the midline mulched and maneuvering to claim objectives with Vindicators. Would have been a different game, but possibly not that much.
Things I want to try:
- Full mechanized ground assault with Titan support
- Upgraded Siegelord (not sure this is overpowered so much as a rebalance)
- Durable Ordinatus (this one was suggested to me; not my idea originally)
- More of this drop-heavy list; see if it's too broken against other opponents
Nice AAR!
ReplyDeleteAwesome posts! Would you be willing to share where you got your Iron Warriors from? I am looking to start an IW army myself!
ReplyDelete